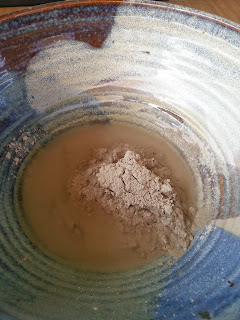
The gesso was applied in lumps with a spoon, at first, and then smoothed more evenly. Work quickly, as it will only spread for a few minutes before starting to catch as it sets.
Pay extra attention to the seams. It is important to make a thick enough layer of gesso over the seams, because it is easy to scrape too thin over a seam while smoothing out.
After smoothing out the gesso, the plaster has probably dried enough to start smoothing and moulding with your hand or a sculpting tool.
Check that there is an even thickness right around. Also check that the base of the crest is still the correct shape to fit on the top of your helm. When my gesso grosso dried, I found that the leather had changed shape and no longer fitted on the helm. While breaking of some plaster off (later in the day) to re-set the base shape, I found that the gesso was a much better thickness on one side than the other. I recommend trying to make the gesso grosso between 5 and 10 mm thick. The top piece is too thin
About 10 minutes after mixing the plaster, it became quite firm. I poured a very small amount of water into the mixing bowl and made some paste, like peanut butter in stiffness. I used this to fill in some low patches, especially around the eyes, so there was enough plaster to sculpt eyelids out of.
The crest stood to dry for a day and then will be covered with gesso sottile.


